
Product owners
Know the product, share its details, and approve how it is presented.
Resources / Onboarding guide
Getting started doesn’t have to be complicated. Here’s what to bring, who can help, and how your first product becomes an experience customers can use.
Bring a product, an idea of what you want to achieve, and whatever files you have. We’ll use that starting point to work out what your project needs.
No 3D model yet? Include that in the brief. A content creator can help prepare one. You don’t need to solve that before getting in touch.
Know the product, share its details, and approve how it is presented.
Provide the creative and technical services: making models, preparing content, and building experiences.
Provides the host platform where your approved product information, choices, and 3D assets work together and can be reused.
Your team brings the product knowledge. Creators turn it into a model and content. Developers connect it to an experience when needed. You review it, then the approved version is published through Vertcie.
1
You supply the product details, references, and available choices.
2
Your creator prepares the model and finishes. Your team adds how the product’s choices work together.
3
You try the result, check the facts and appearance, and approve it.
4
The approved product powers your chosen experiences. Future changes are reviewed before a new version is used.
For example: one chair, several uses. You provide dimensions and upholstery choices. A creator prepares the chair model and finishes. That same product can then support website images, a finish selector, a downloadable model, and an AR view. Your team sets up and checks each use, without starting again with a different model every time.
You don’t have to learn every tool. Your project determines which ones you need, and the right people on your team use them. Open a section to see what happens.
Who uses it: Content creator or developer, guided by your product expert
The product workflow connects the model, its parts, and available options. Rules Editor adds conditions for specific situations—for example, when one choice requires another. Your product expert explains what is allowed and checks the result.
What comes out: A product that shows the right parts and offers valid choices.
See Rules Editor →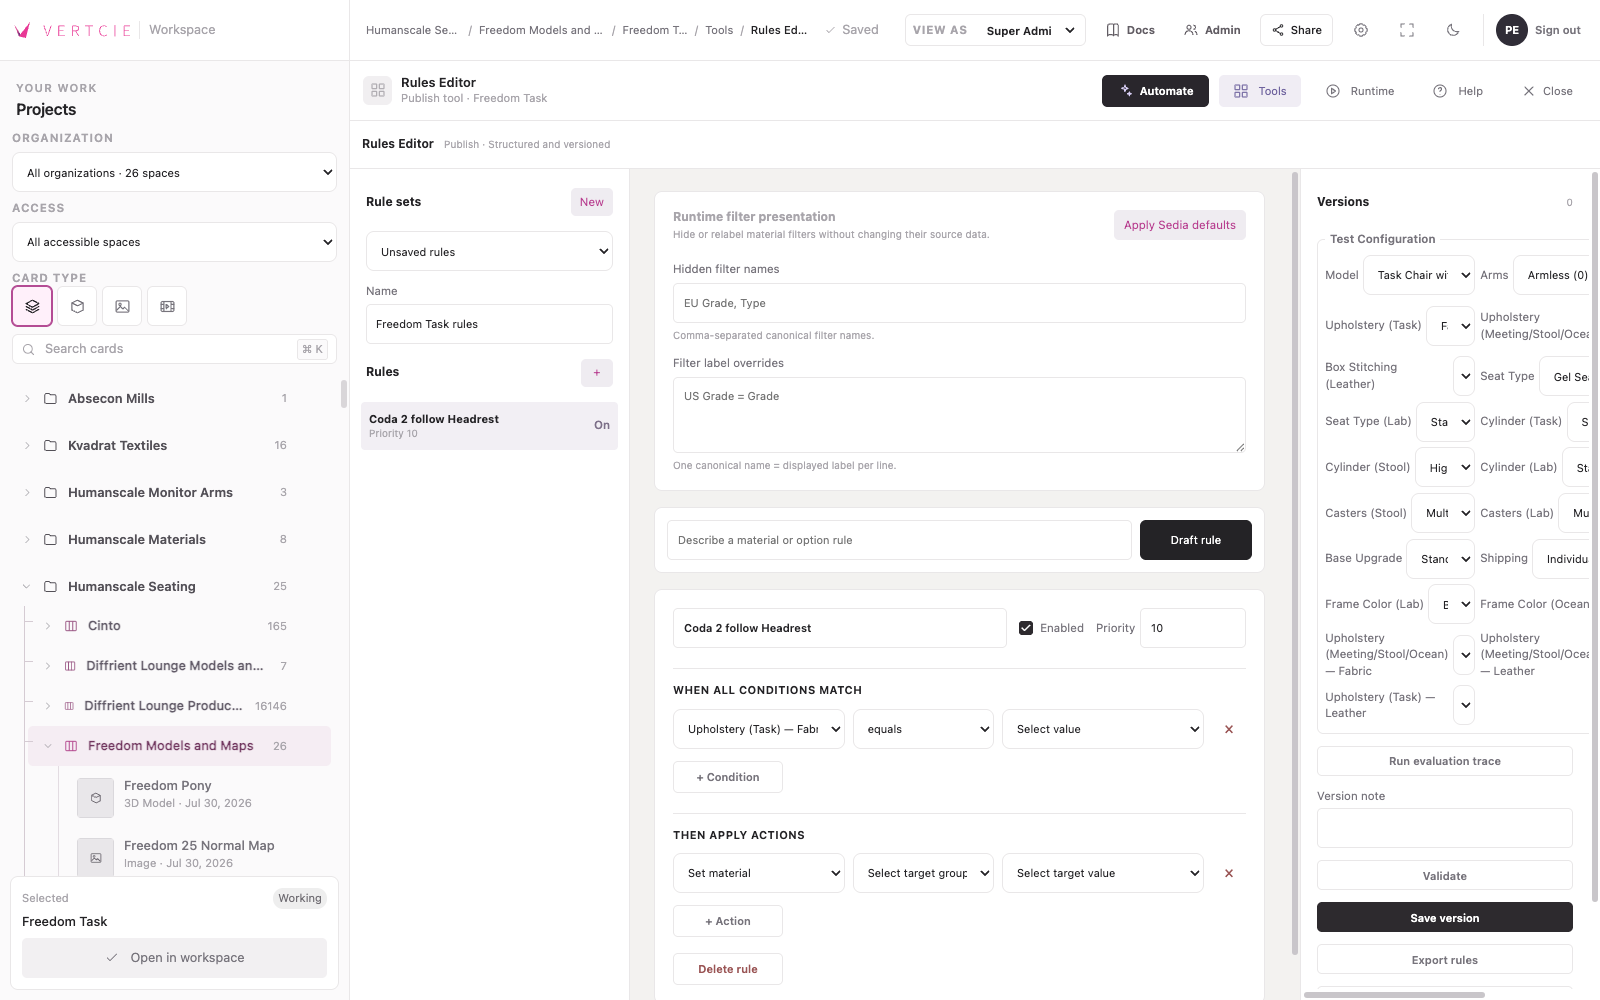
Who uses it: Content creator, with your visual approval
Map Creator and Material Generator help turn source images into surface detail and materials. Material Editor adjusts their appearance, and Material Library keeps approved materials organized for reuse. Your references help the creator check color, texture, and finish.
What comes out: Reusable finishes that have been checked on the product.
See Material Library →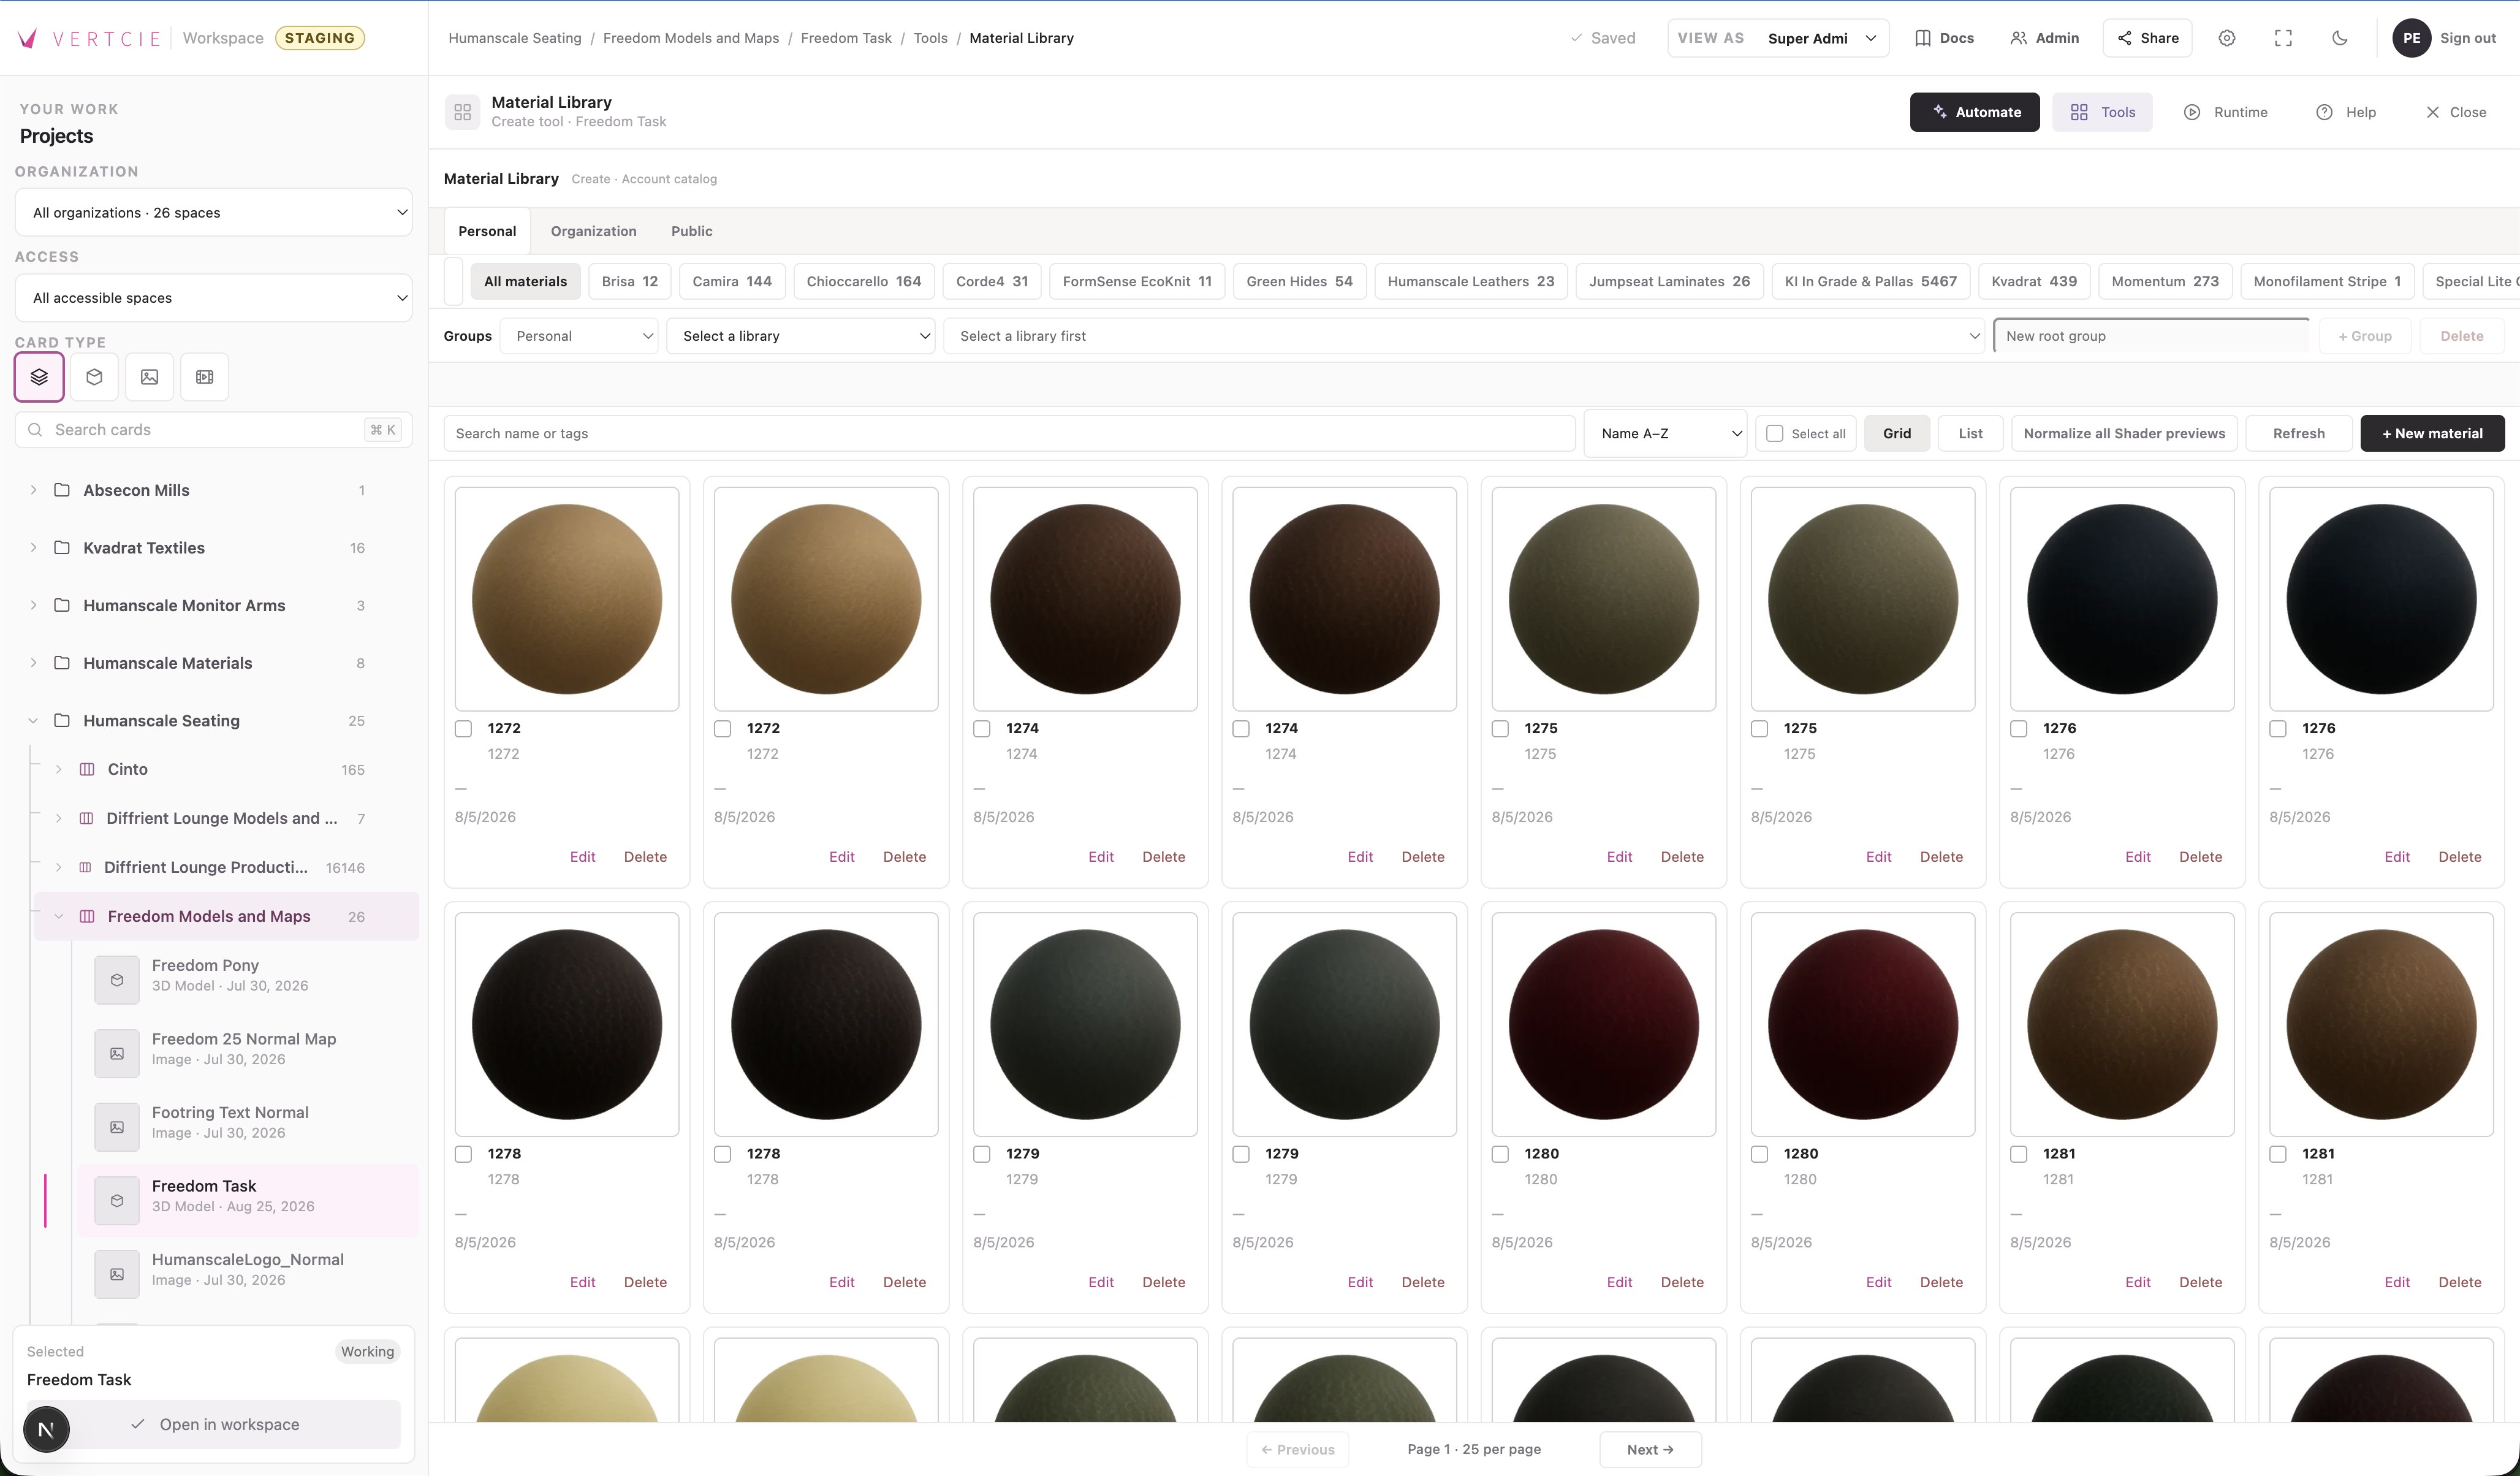
Who uses it: Content creator or content team
Render Studio lets the creator choose a product configuration, camera view, lighting, and image output. Document Builder arranges approved product content into reusable product-sheet templates.
What comes out: Images and documents based on the same product information and model.
See Render Studio →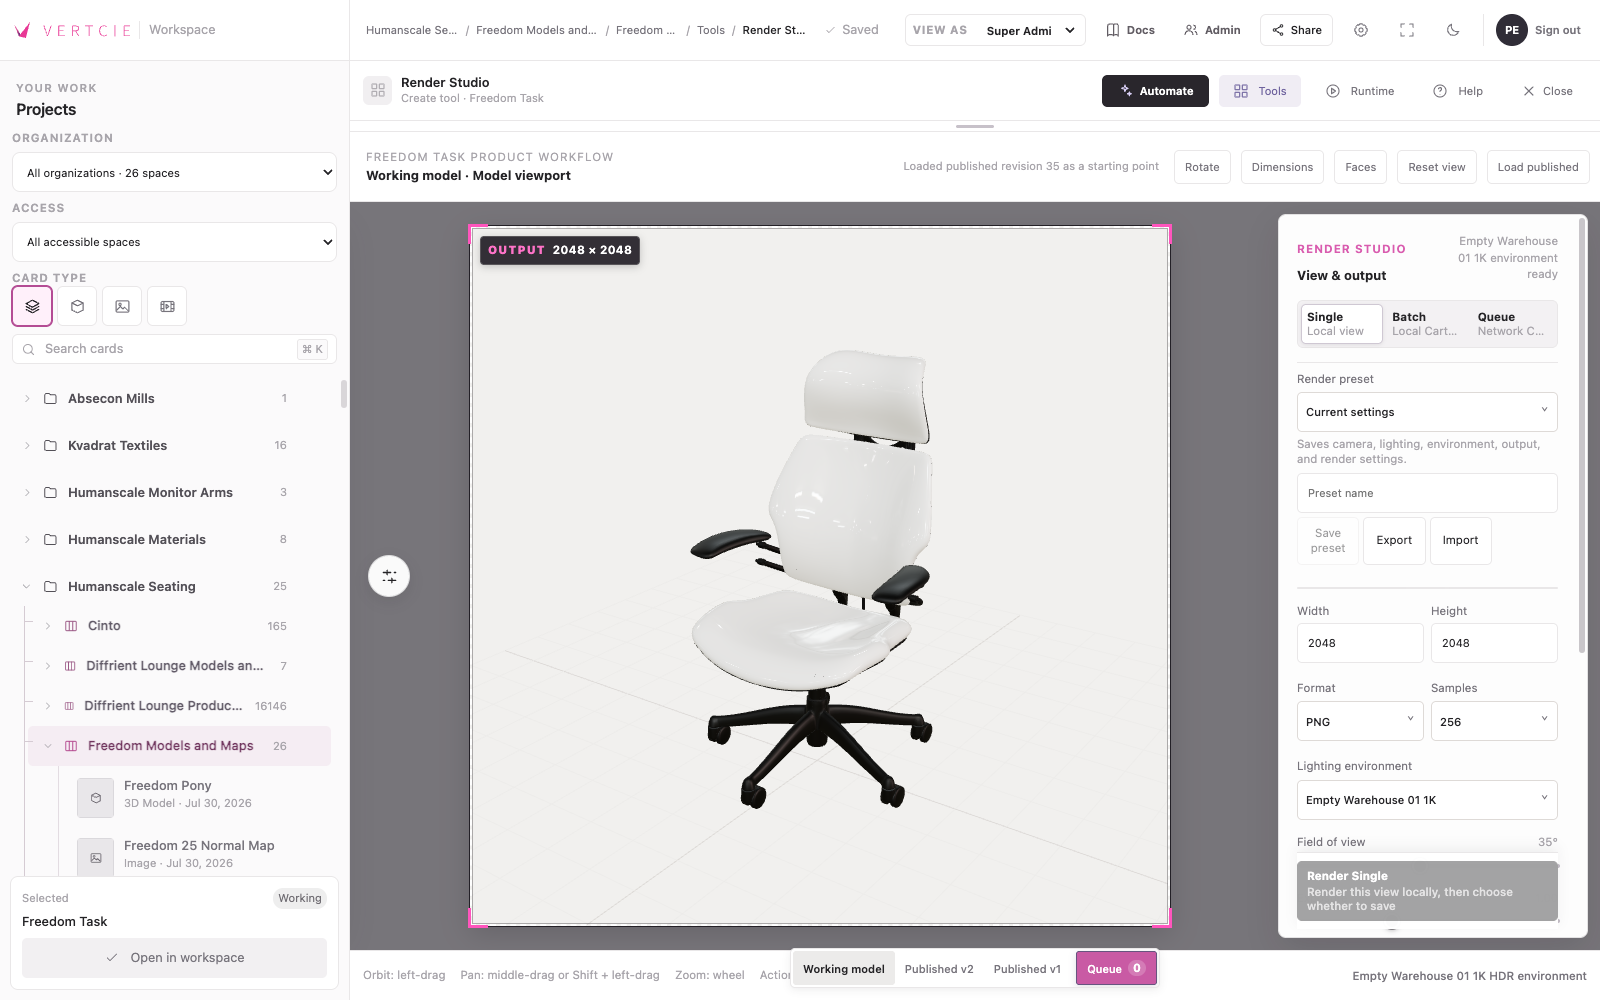
Who uses it: Designer or developer, with your team’s input
Client UX controls how the product experience looks and how people interact with it. Snippet Builder gives a developer code to place a published experience in a website or application. Custom experiences may need additional development.
What comes out: A place where customers can explore the product and make choices.
See Client UX →Who uses it: Your product team and implementation partners
Runtime Catalog is a directory of published product experiences. Your team can find the active version and open it for review. When something changes, the team checks and publishes a new version, then decides when connected experiences should use it.
What comes out: A clear view of what customers are using and which version has been approved.
See Runtime Catalog →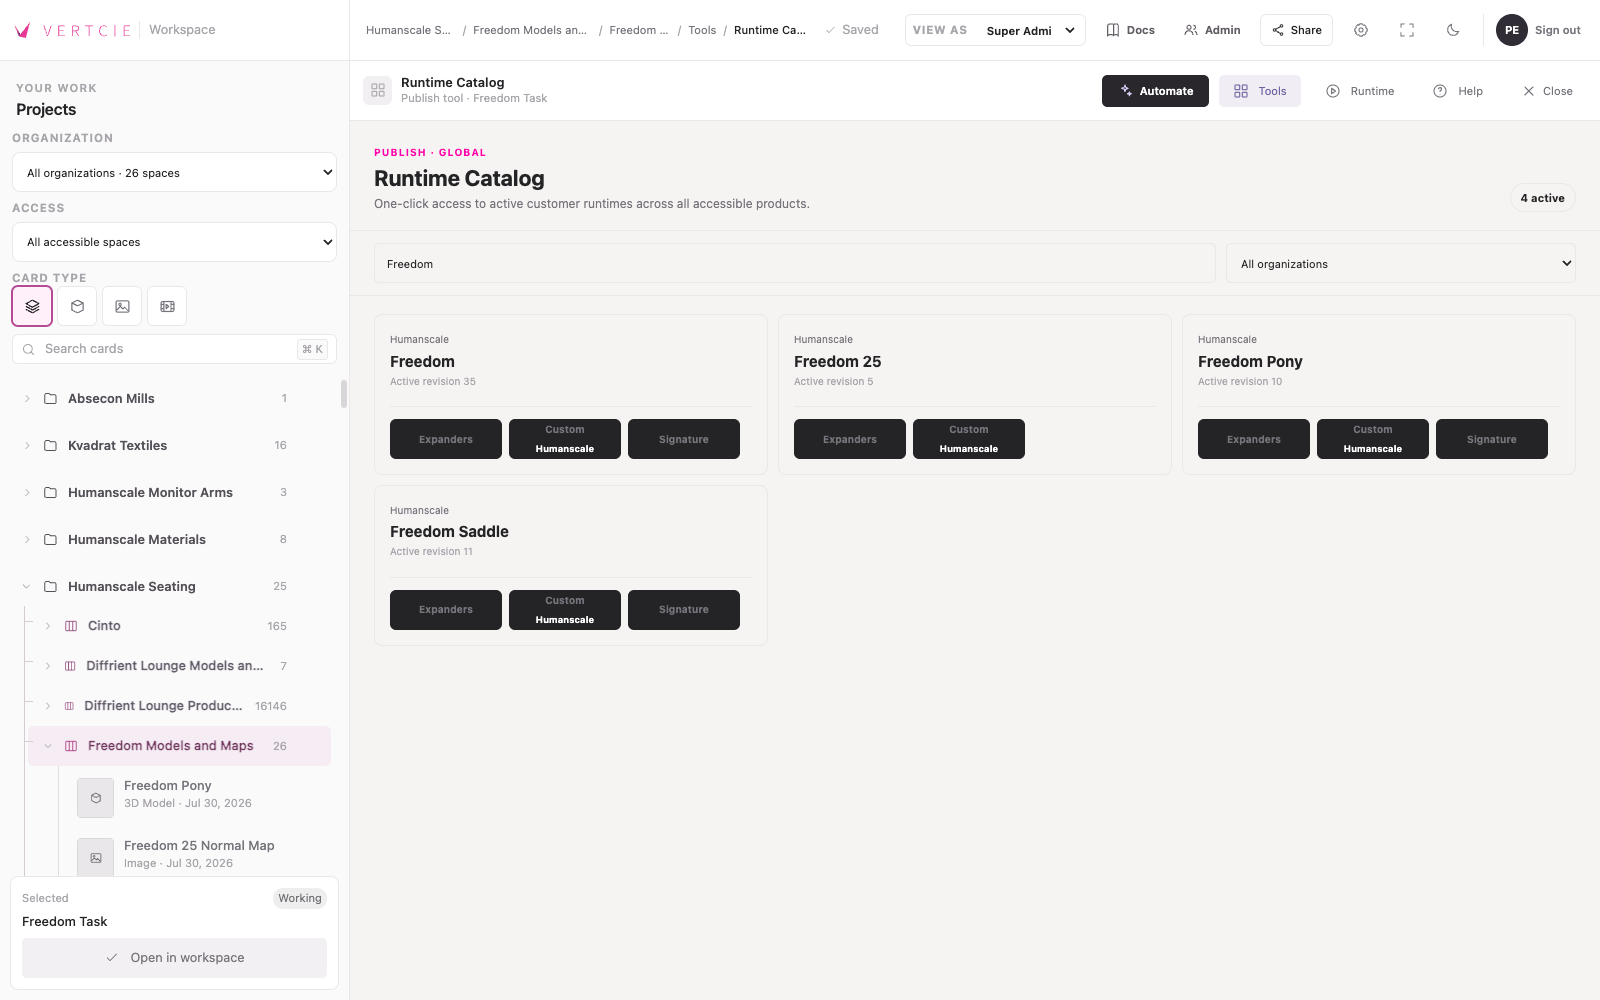
For the people doing the hands-on work: content creation docs and developer docs.
Step 01
Who’s involved: You and your team
Choose one product or a small group of products to start with. Think about what you want your customers to see, understand, or choose.
Ready to move on: A product to start with and a clear first goal.
Step 02
Who’s involved: Whoever knows your products best
You don’t need a perfectly organized folder. Start with the information and files you use today, and tell us what is missing.
Ready to move on: A useful starting collection, with someone who can answer product questions.
Step 03
Who’s involved: You, Vertcie, and any partners involved
Bring your existing designer, 3D artist, or developer if you have one. If you need help, tell us so partner involvement can be discussed.
Ready to move on: Everyone knows what they are doing and what the first release includes.
Step 04
Who’s involved: Your content creator and product expert
One good 3D model can do much more than show a product from one angle. With the right product details, it can support images, different finishes, configuration, room planning, and more.
Ready to move on: A first version you can look at and try.
Step 05
Who’s involved: You and the people building it
Review the experience as a customer would. This is the time to ask questions, make adjustments, and check the details.
Ready to move on: You’re happy with the product and have approved it for launch.
Step 06
Who’s involved: Your project lead and ongoing team
Start with the outcome you agreed on, check it works for your customers, and use what you learn to decide what comes next.
Ready to move on: Your first experience is live, with a clear owner and a next step.
Tell us about your product and what you want to achieve. You don’t need to know all the answers—we can start with what you have.